
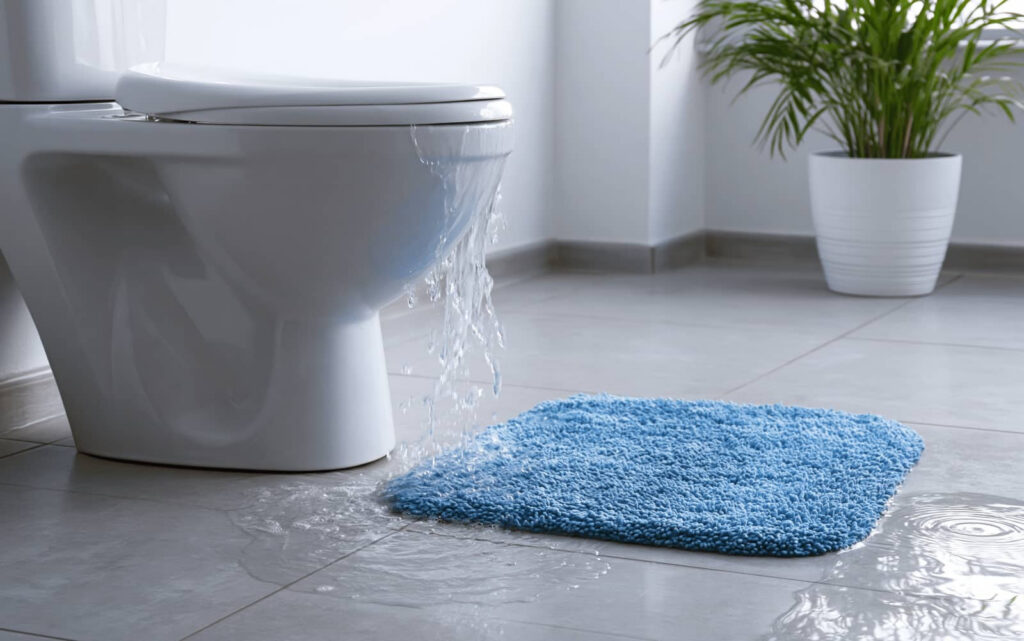
When sewage backs up, you need to act fast and keep exposure low. Shut off water if you can, avoid contaminated areas, and document the damage before cleanup starts. Then you’ll need to remove standing water, discard unsalvageable materials, and dry the space completely to stop mold. Some damage is manageable, but hidden contamination and structural issues can complicate the recovery in ways you may not expect.
Key Takeaways
- Stay out of contaminated areas, wear protective gear, and shut off water or electricity only if it is safe.
- Stop the backup by closing the affected water supply, limiting access, and avoiding any more flushing or running water.
- Remove standing sewage water with proper equipment, then clean and disinfect hard surfaces after scrubbing with detergent.
- Discard porous or unsalvageable materials, dry the area quickly, and monitor for mold and hidden moisture.
- Call licensed cleanup professionals if the damage is extensive, involves electrical hazards, or affects HVAC or porous materials.
How to Stay Safe During a Sewage Backup
If sewage backs up into your home, protect yourself first by staying out of the contaminated area and avoiding direct contact with the water. You’ll reduce exposure by keeping children, pets, and anyone with cuts or weakened immunity away from the space.
Wear waterproof gloves, boots, and eye protection if you must enter briefly. Don’t touch porous items, and avoid stirring up splashes or aerosols.
Turn off electricity only if you can reach the panel without crossing wet flooring; otherwise, wait for a qualified professional. Wash exposed skin immediately with soap and clean water.
If you notice dizziness, nausea, or a strong odor, leave at once. Safe sewage backup cleanup starts with caution, clear boundaries, and prompt reporting to your cleanup team.
How to Stop the Backup and Limit Damage
Once you’re clear of the contaminated area, stop additional flow by shutting off the water supply to the affected fixture, appliance, or the home’s main valve if you can reach it safely.
If the backup is tied to a specific appliance, disconnect its supply line only if you can do so without exposure.
Keep people and pets out of the area, and close interior doors to slow spread into nearby rooms.
If sewage is entering through a floor drain or toilet, avoid flushing or running water anywhere else in the home.
Turn off HVAC fans that could move contaminated air.
Place towels or absorbent barriers at door thresholds to limit migration.
Document visible damage with photos from a safe distance, then contact a licensed cleanup team so your household can recover together.
What to Do First During Sewage Backup Cleanup?
Before you start any cleanup, put your safety first: leave the contaminated area, keep children and pets away, and wear waterproof gloves, boots, eye protection, and an N95 or better respirator before re-entering.
Then cut electricity to affected rooms at the breaker if it’s safe to do so, and shut off the water source if the backup is still active.
Document visible damage with photos for insurance, but don’t step into sewage or move porous items yet.
Open windows only if conditions allow safe ventilation. Mark contaminated zones so everyone in your household stays out.
If sewage reached HVAC, outlets, or large areas, call a licensed restoration professional right away. Acting quickly protects your health, limits exposure, and helps your recovery team work efficiently and safely.
How to Remove Standing Sewage Water Safely
Before you remove standing sewage water, assess the area for electrical hazards, structural instability, and direct exposure risks.
Use a sewage-rated pump or wet vacuum with proper PPE to extract the water without spreading contamination.
After removal, disinfect all affected surfaces and materials immediately to reduce pathogen exposure.
Assess Safety First
If sewage water is standing in your home, shut off electricity to the affected area and avoid direct contact with the water until you’ve confirmed it’s safe to enter.
Check for gas odors, sagging ceilings, damaged outlets, and structural instability before you step inside.
Put on sealed boots, gloves, eye protection, and a respirator rated for biohazards if you must access the space.
Keep children and pets out, and don’t touch contaminated furniture, cords, or drains.
Document the scene with photos from a safe distance, then contact your utility provider or a licensed restoration team if hazards remain.
You’re not overreacting; you’re protecting your household and everyone working with you on recovery.
Move only when conditions are stable, visible risks are controlled, and you can enter without exposure.
Use Proper Pumping
Use a submersible pump or wet/dry vacuum rated for wastewater to remove standing sewage water as quickly as possible, but never use household vacuums or standard sump pumps that can aerosolize contaminants or clog with solids. You’ll protect your team and limit spread when you work methodically.
Keep hoses secured, direct discharge to an approved drain or containment tank, and stay out of the water while equipment runs.
- Position the intake at the deepest point.
- Pump in stages to avoid stirring settled solids.
- Stop if the unit overheats, jams, or leaks.
You belong with crews that control the job, not the hazard. Wear protective gear, monitor electrical cords for damage, and document water depth as it drops.
If pumping exceeds your equipment’s capacity, call a licensed sewage cleanup service immediately.
Disinfect Affected Areas
Disinfect the area only after you’ve removed standing sewage water, because lingering moisture can keep contaminants active and spread them through surfaces.
Wear gloves, boots, eye protection, and an N95 or better before you begin. Scrub hard surfaces with detergent first, then apply an EPA-registered disinfectant at the label’s required dilution and dwell time.
Don’t mix bleach with ammonia or acids. Work from the cleanest zone toward the most contaminated area to avoid cross-contamination.
Launder washable items in hot water, and discard porous materials that stayed saturated, such as carpet pad, insulation, and drywall.
Ventilate the space with fans and open windows if weather allows. If odors, staining, or exposure remain extensive, bring in qualified cleanup professionals so your home can recover safely with your crew’s support.
What to Throw Away After Sewage Contamination
You should discard any porous materials that absorbed sewage, including carpet, padding, drywall, insulation, and upholstered items, because they can retain contamination even after cleaning.
You’ll also need to throw away contents that can’t be fully sanitized, such as damaged food, paper goods, and items with hidden cavities or absorbent surfaces.
If you’re unsure whether an item is salvageable, treat it as contaminated and remove it to reduce health risks.
Porous Materials
After a sewage backup, porous materials usually need to go, because they absorb contaminated water and are difficult to fully sanitize. You should treat drywall, insulation, carpet padding, upholstery, and ceiling tiles as high-risk contamination reservoirs.
These materials trap pathogens in fibers and voids, so surface cleaning won’t restore safe conditions. Remove and bag them promptly while wearing gloves, boots, and respiratory protection.
Identify absorbent items in every affected room.
Discard materials with visible saturation or sewage staining.
Separate salvageable nonporous items from contaminated porous waste.
When you act quickly and consistently, you protect your household and support a safer recovery.
If the odor lingers or moisture remains, assume hidden contamination is present and keep the area isolated until the cleanup is complete.
Unsalvageable Contents
Some contents can’t be safely restored once sewage has touched them, so sort the area for disposal as soon as conditions allow.
You should discard porous items that absorb contaminated moisture, including carpet, padding, upholstered furniture, mattresses, pillows, and stuffed toys.
Throw away food, open cosmetics, paper goods, and medicines exposed to sewage.
Remove particleboard, fiberboard, and laminate that have swollen, warped, or delaminated.
If electrical devices were submerged, don’t reuse them until a qualified technician clears them; many need replacement.
Bag small waste securely, label it as contaminated, and keep clean and dirty zones separate.
Wear gloves, boots, and respiratory protection during handling.
When you’re unsure, choose disposal over risk.
Your safety crew should treat every questionable item as a potential biohazard.
How to Clean and Sanitize Affected Surfaces
Start by removing all visible sewage residue. Then wash hard, nonporous surfaces with hot water and a detergent solution to lift remaining contamination.
You should work from clean zones toward the dirtiest areas so you don’t spread waste. Scrub each surface with disposable cloths or brushes, and replace them often.
After cleaning, apply a disinfectant labeled for sewage contamination, following the contact time on the product label. Keep kids and pets away until the surface is fully treated.
- Wear gloves, boots, eye protection, and a mask.
- Use separate tools for contaminated areas.
- Dispose of cleaning materials in sealed bags.
If a surface can’t be fully cleaned, remove it. You’re not handling this alone; careful sanitation protects your home and your people.
How to Dry the Space and Prevent Mold
After you’ve cleaned and sanitized the area, remove moisture fast with wet vacuums, fans, and dehumidifiers to lower indoor humidity.
Open windows only if outdoor conditions won’t add more moisture, and keep air moving across all damp surfaces.
Inspect concealed spaces, replace water-damaged porous materials, and monitor for mold growth for several days.
Rapid Moisture Removal
Once the contaminated water is removed, dry the space immediately with high-capacity fans and dehumidifiers to stop moisture from settling into floors, walls, and insulation.
You’ll protect your property best when you create steady airflow, lower indoor humidity fast, and keep wet materials exposed. Remove baseboards if needed so hidden cavities can release trapped moisture.
- Position fans to move air across surfaces, not just around the room.
- Run dehumidifiers continuously and empty them before they overflow.
- Check damp zones daily with a moisture meter until readings normalize.
Work in a contained area, wear protective gear, and keep electrical devices away from wet surfaces.
If you act quickly and stay consistent, you’ll help your space recover safely and reduce the chance of hidden damage for everyone in your home.
Mold Prevention Steps
With the bulk moisture removed, keep drying the affected area until materials are fully decontaminated and no damp pockets remain.
Run dehumidifiers and fans to move air across floors, walls, and cavities, but don’t aim airflow directly at surfaces that may spread contamination.
Remove soaked drywall, insulation, carpet pad, and porous contents that can’t dry within 24 to 48 hours.
Open cavities so you can inspect hidden framing, then wipe hard surfaces with an EPA-registered disinfectant and follow the labeled contact time.
Check humidity with a meter and keep it below 60 percent.
Wear gloves, eye protection, and a respirator during cleanup.
If you smell musty odors, see visible growth, or can’t verify dryness, call a certified remediation team so your space stays safe and your household stays protected.
How to Restore Drywall, Flooring, and Insulation
Begin restoration only after the area is fully dry, sanitized, and confirmed safe to enter. You’ll rebuild the affected layers with clean, compatible materials so your space feels like yours again.
Remove drywall that wicked contamination above the visible stain line, then cut back insulation that stayed wet or compressed. Replace both with new, dry products and seal seams carefully.
For flooring, inspect the subfloor for swelling, delamination, or odor; then reinstall only if it’s structurally sound.
Use these steps:
- Verify moisture readings match surrounding materials.
- Replace porous, contaminated components; salvage only sound, nonabsorbent surfaces.
- Finish with primer, sealant, and a final sanitation check.
Work methodically, and you’ll restore a safer, healthier room that supports your home’s recovery.
When Sewage Backup Cleanup Needs Professionals
If the backup has spread beyond a small, contained area, reached HVAC systems, soaked structural materials, or exposed you to raw sewage for more than a brief period, you need professional cleanup services.
You’re dealing with Category 3 contamination, and that means trained crews should isolate the zone, remove wastewater, and verify decontamination with proper disinfectants and equipment.
Call professionals if you smell persistent sewage, see hidden moisture, or can’t safely access affected spaces.
You also need expert help when porous materials, insulation, or subfloors stay wet, because they can trap pathogens and odor.
How to Prevent Another Sewage Backup
Once the cleanup is complete, focus on the conditions that caused the backup so you can reduce the chance of a repeat. You should inspect drains, cleanout points, and the main sewer line for blockages, root intrusion, or pipe damage.
Schedule preventive maintenance with a licensed plumber and keep a record so you and your household stay informed and protected.
- Test backwater valves and sump systems before heavy rain.
- Avoid flushing wipes, grease, feminine products, or debris.
- Install drain strainers and maintain proper grading away from the foundation.
If your neighborhood has recurring overflows, report them to the utility so crews can assess the public line.
When you act early, you help protect your property and support a safer home for everyone.
Frequently Asked Questions
How Long Does Sewage Contamination Remain Hazardous After Cleanup?
Sewage contamination can stay hazardous until you’ve removed all moisture, disinfected surfaces, and confirmed drying; hidden residue may remain risky for days or weeks. You should test affected materials and call professionals if odors persist.
Can Sewage Backup Affect My Home’s Drinking Water Supply?
Yes, sewage backup can contaminate your drinking water if it reaches wells, pipes, or cross-connections. You should stop using tap water, boil only if advised, test your supply, and call your utility or a licensed remediation pro immediately.
Will Homeowners Insurance Cover Sewage Backup Cleanup Costs?
Usually, you’ll need a sewer backup endorsement; standard homeowners policies often exclude it. About 1 in 50 insured homes files water-damage claims yearly. Check your limits, document contamination, and call licensed cleanup pros immediately.
How Do I Tell if Hidden Sewage Damage Is Still Present?
You’ll notice hidden sewage damage if you still smell sewage, see stains, warped flooring, or soft drywall, or detect moisture with a meter. If symptoms persist, you should call certified remediation pros immediately.
Should I Test for Bacteria or Mold After Sewage Cleanup?
Yes—test for bacteria and mold, because hidden threats can linger like silent invaders. You’ll protect your home and crew by sampling surfaces and air after cleanup, then act fast on results.
Review
Sewage backup cleanup demands fast, careful action to protect your health and property. You know that even one inch of contaminated water can damage materials and spread bacteria quickly. According to the EPA, moisture left behind for just 24 to 48 hours can trigger mold growth, so speed matters. If you stay protected, dry the space thoroughly, and replace contaminated materials, you’ll reduce long-term risk and recover your property safely.